Building My Backyard Hydroponic Garden
I’ve gotta say, I wasn’t much of a science guy growing up. I somehow made it out of school with hardly any knowledge of the periodic table and I know for sure I never took physics. I guess that explains why I’m in the communication world and not a doctor.
However, I have come to love the idea of growing plants using hydroponics. Hydroponics is a method of growing plants without soil by instead using mineral nutrient solutions in a water solvent. I’ve done a few stories in the past for TWILA where people are using this kind of system to grow vegetables in a super efficient way.
After a few stories and a trip to a massive hydroponic farm in San Diego (5 acres of greenhouse), I just had to give this a try on my own to see if I can grow my own food in the middle of Baton Rouge.
I reached out to Rory Gresham who manages Richland Parish Produce in Rayville, Louisiana. He has 4 greenhouse in production, and is adding 3 more houses right now. He’s built many systems like this for his own use and for others across the state. He’s my number one source, and has been an amazing resource as I’ve built my system.
Let’s start with some basics. To build this kind of system, you need to understand your own needs and the space you have to work with. For instance, I had a long, narrow space I wanted to build my system for. You also need to consider what you’d like to grow, and how much you need to grow for yourself or your friends and family. It doesn’t make sense to grow 20 heads of lettuce a week if you barely eat salads.

Let’s get some parts together. Quantity will vary based on how big or small you plan to build. I spent around $350 building this.
4” waste pipe — these come in 10’ lengths at most hardware stores. There’s an expanded bell on one end for fitting multiple pipes together, so you’ll need to trim that off. These are around $8-9 each.
2x4s to build your frame —this will depend on the length of pipes you’ll build your system around. I built mine around 10’x3’ and 30” tall and used 4 pieces of 12’ 2x4s. $4 each
Pipe Ends — this will be a few pieces to make the end of each pipe. You’ll need all of these parts for every end of 4” waste pipe in your system. For example — my system is 4 pieces of 9’ long pipes. That means I need 8 of these end setups. It includes 1 of each of the following. These parts can add up to around $15 per end, so that could play into your planning. That’s part of why I went with 4 longer pipes instead of 6 shorter ones.
4” to 2” Flexible Coupling — This brings your 4” end of the pipe down to 2”
2” to 3/4” PVC Coupling — This brings your 2” opening to 3/4”
3/4” PVC Elbow
A few feet of 3/4” PVC pipe for connecting ends and your drain pipe at the end of your system. I got 10’ for about $2.
A few feet of flexible hose to connect your pump to your inlet pipe of your system. I used 1” tubing and got it for $1.50 per foot.
Appropriate fittings to fix flexible hose to your pump and to your inlet pipe. Your best bet here is to get someone to help you in the hardware store — that’s what I did. This will be another $5-10.
Continuous Outdoor Fountain Pump — I needs to be strong enough to lift water from the ground to your inlet (30” for my system) and keep water flowing non-stop. The one I got was $90. I think you can get one for cheaper, but I got what my store had.
A water reservoir — I used a 55 gallon storage tote from the Home Depot I had sitting around my house. This needs to be a dark colored container and must have a lid to cover with. This tote on Home Depot’s website is $25.
2 1/2” Deck Screws - $10
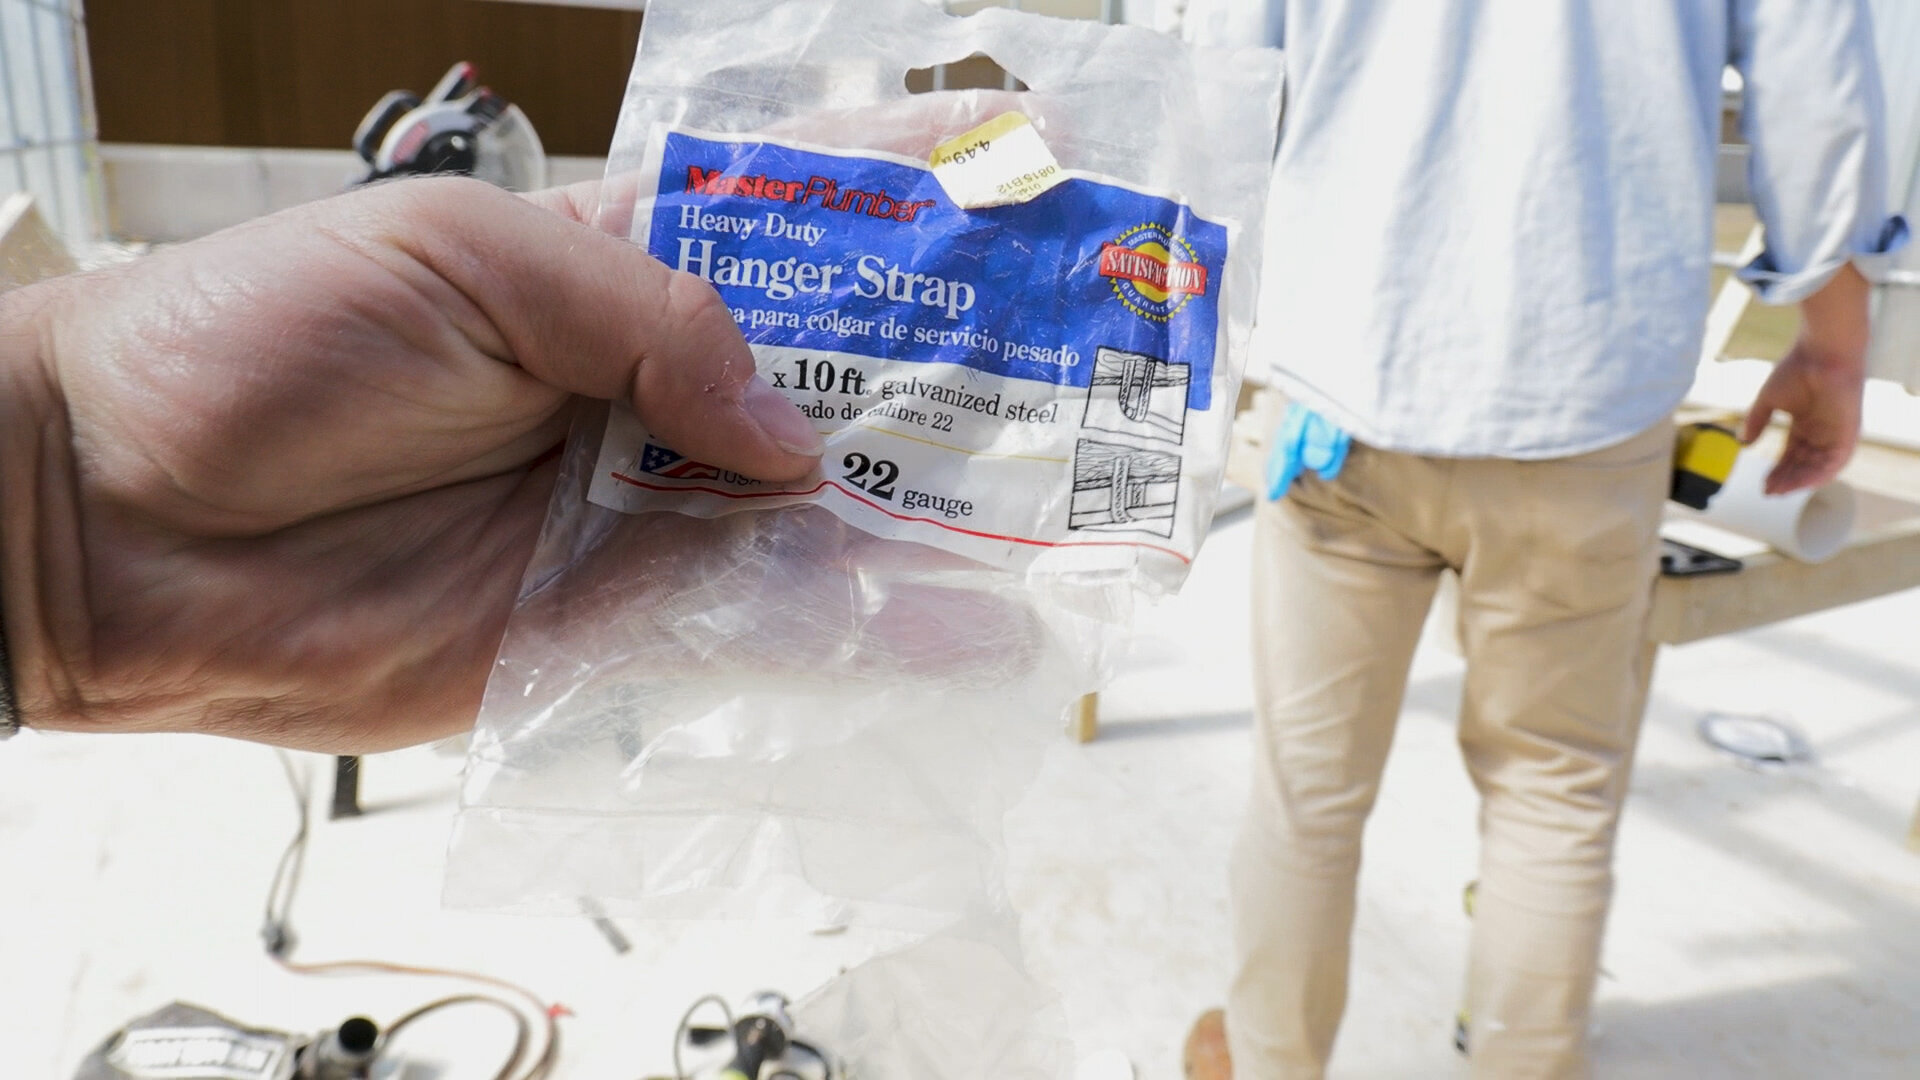
Hanger Strap - 1 bag - $3
PVC Primer and Glue - $7
The tools I used are certainly not the only way to do it, but it made my life easier. You can use whatever it is you have available to you.
Power Drill
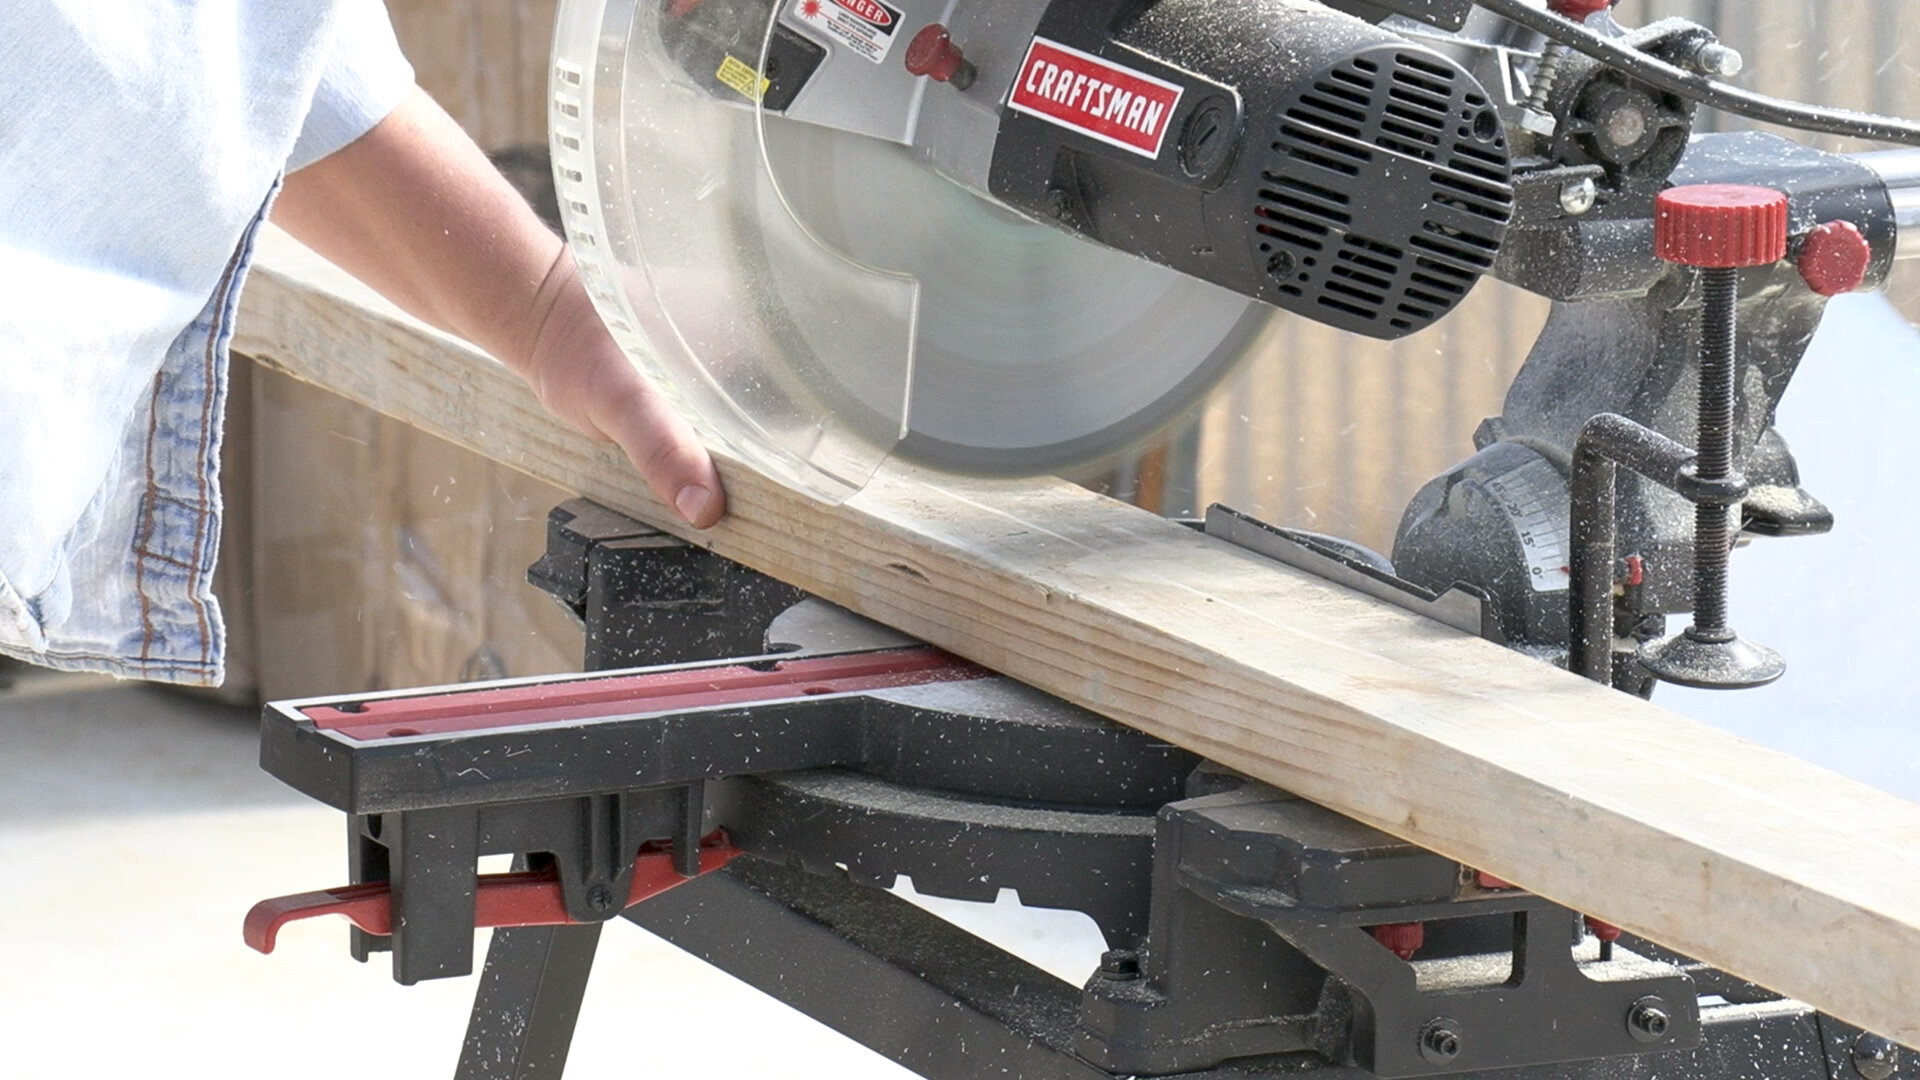
Miter Saw
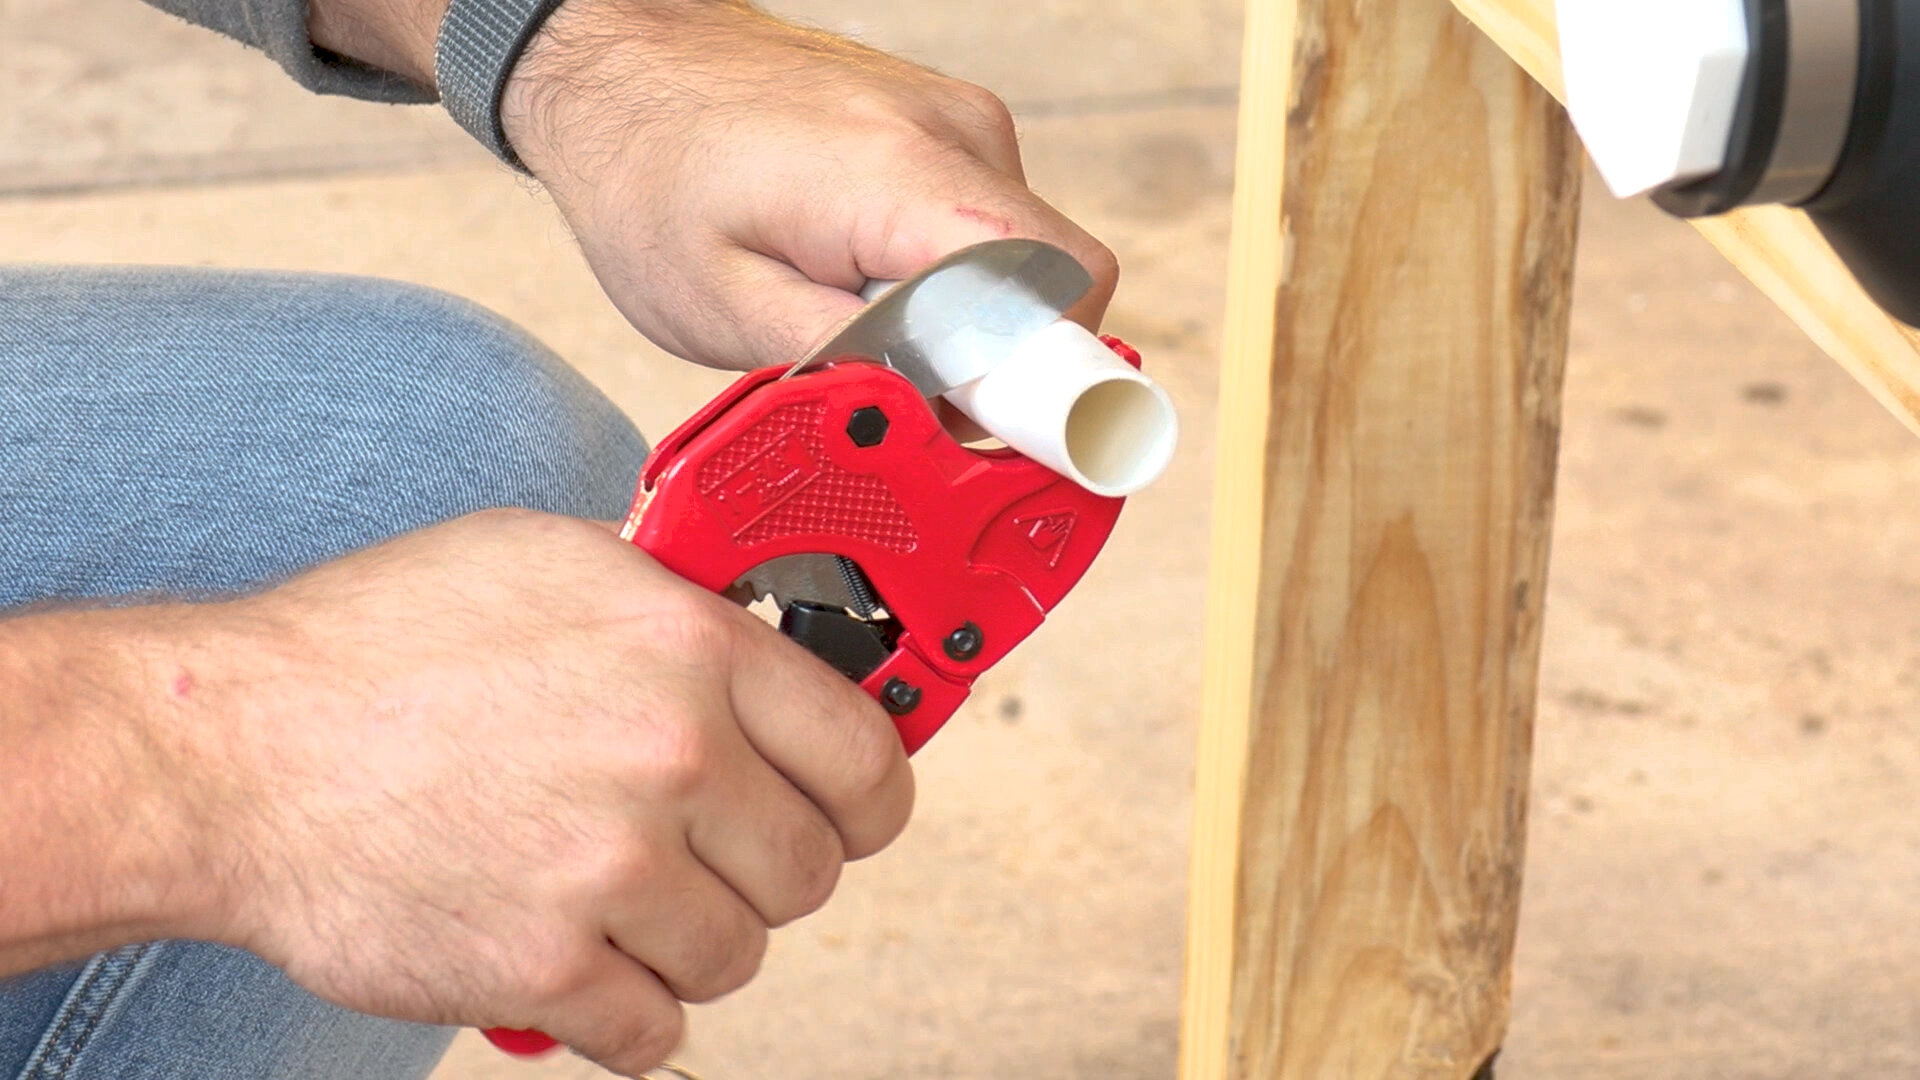
Ratcheting PVC Cutter
3” Hole Saw attachment for drill
Hand file
Tape Measure
The Build

The first thing we need to build is the frame. You want this to be a few inches shorter than your main pipes that will be sitting on it. Here’s the frame from Mr. Rory’s system that is around 4’ x 4’. His pipes are 4’10” so there will be overhang on each end. This is important so you have room for your end plumbing without your frame being in the way. Notice he put a 2x4 in the middle for support.
The height you can chose, but it needs to be level.
To determine the width, some simple math comes into play. You’ll need to figure out how many 4” pipes will be on your system, then space those with 2x4s, then there’s your number. For example, 6 pipes = 24 inches. 5 spacers using 2x4s (4” side) = 20 inches. You’d need a 44” width. This is all very general numbers, but you get the idea.

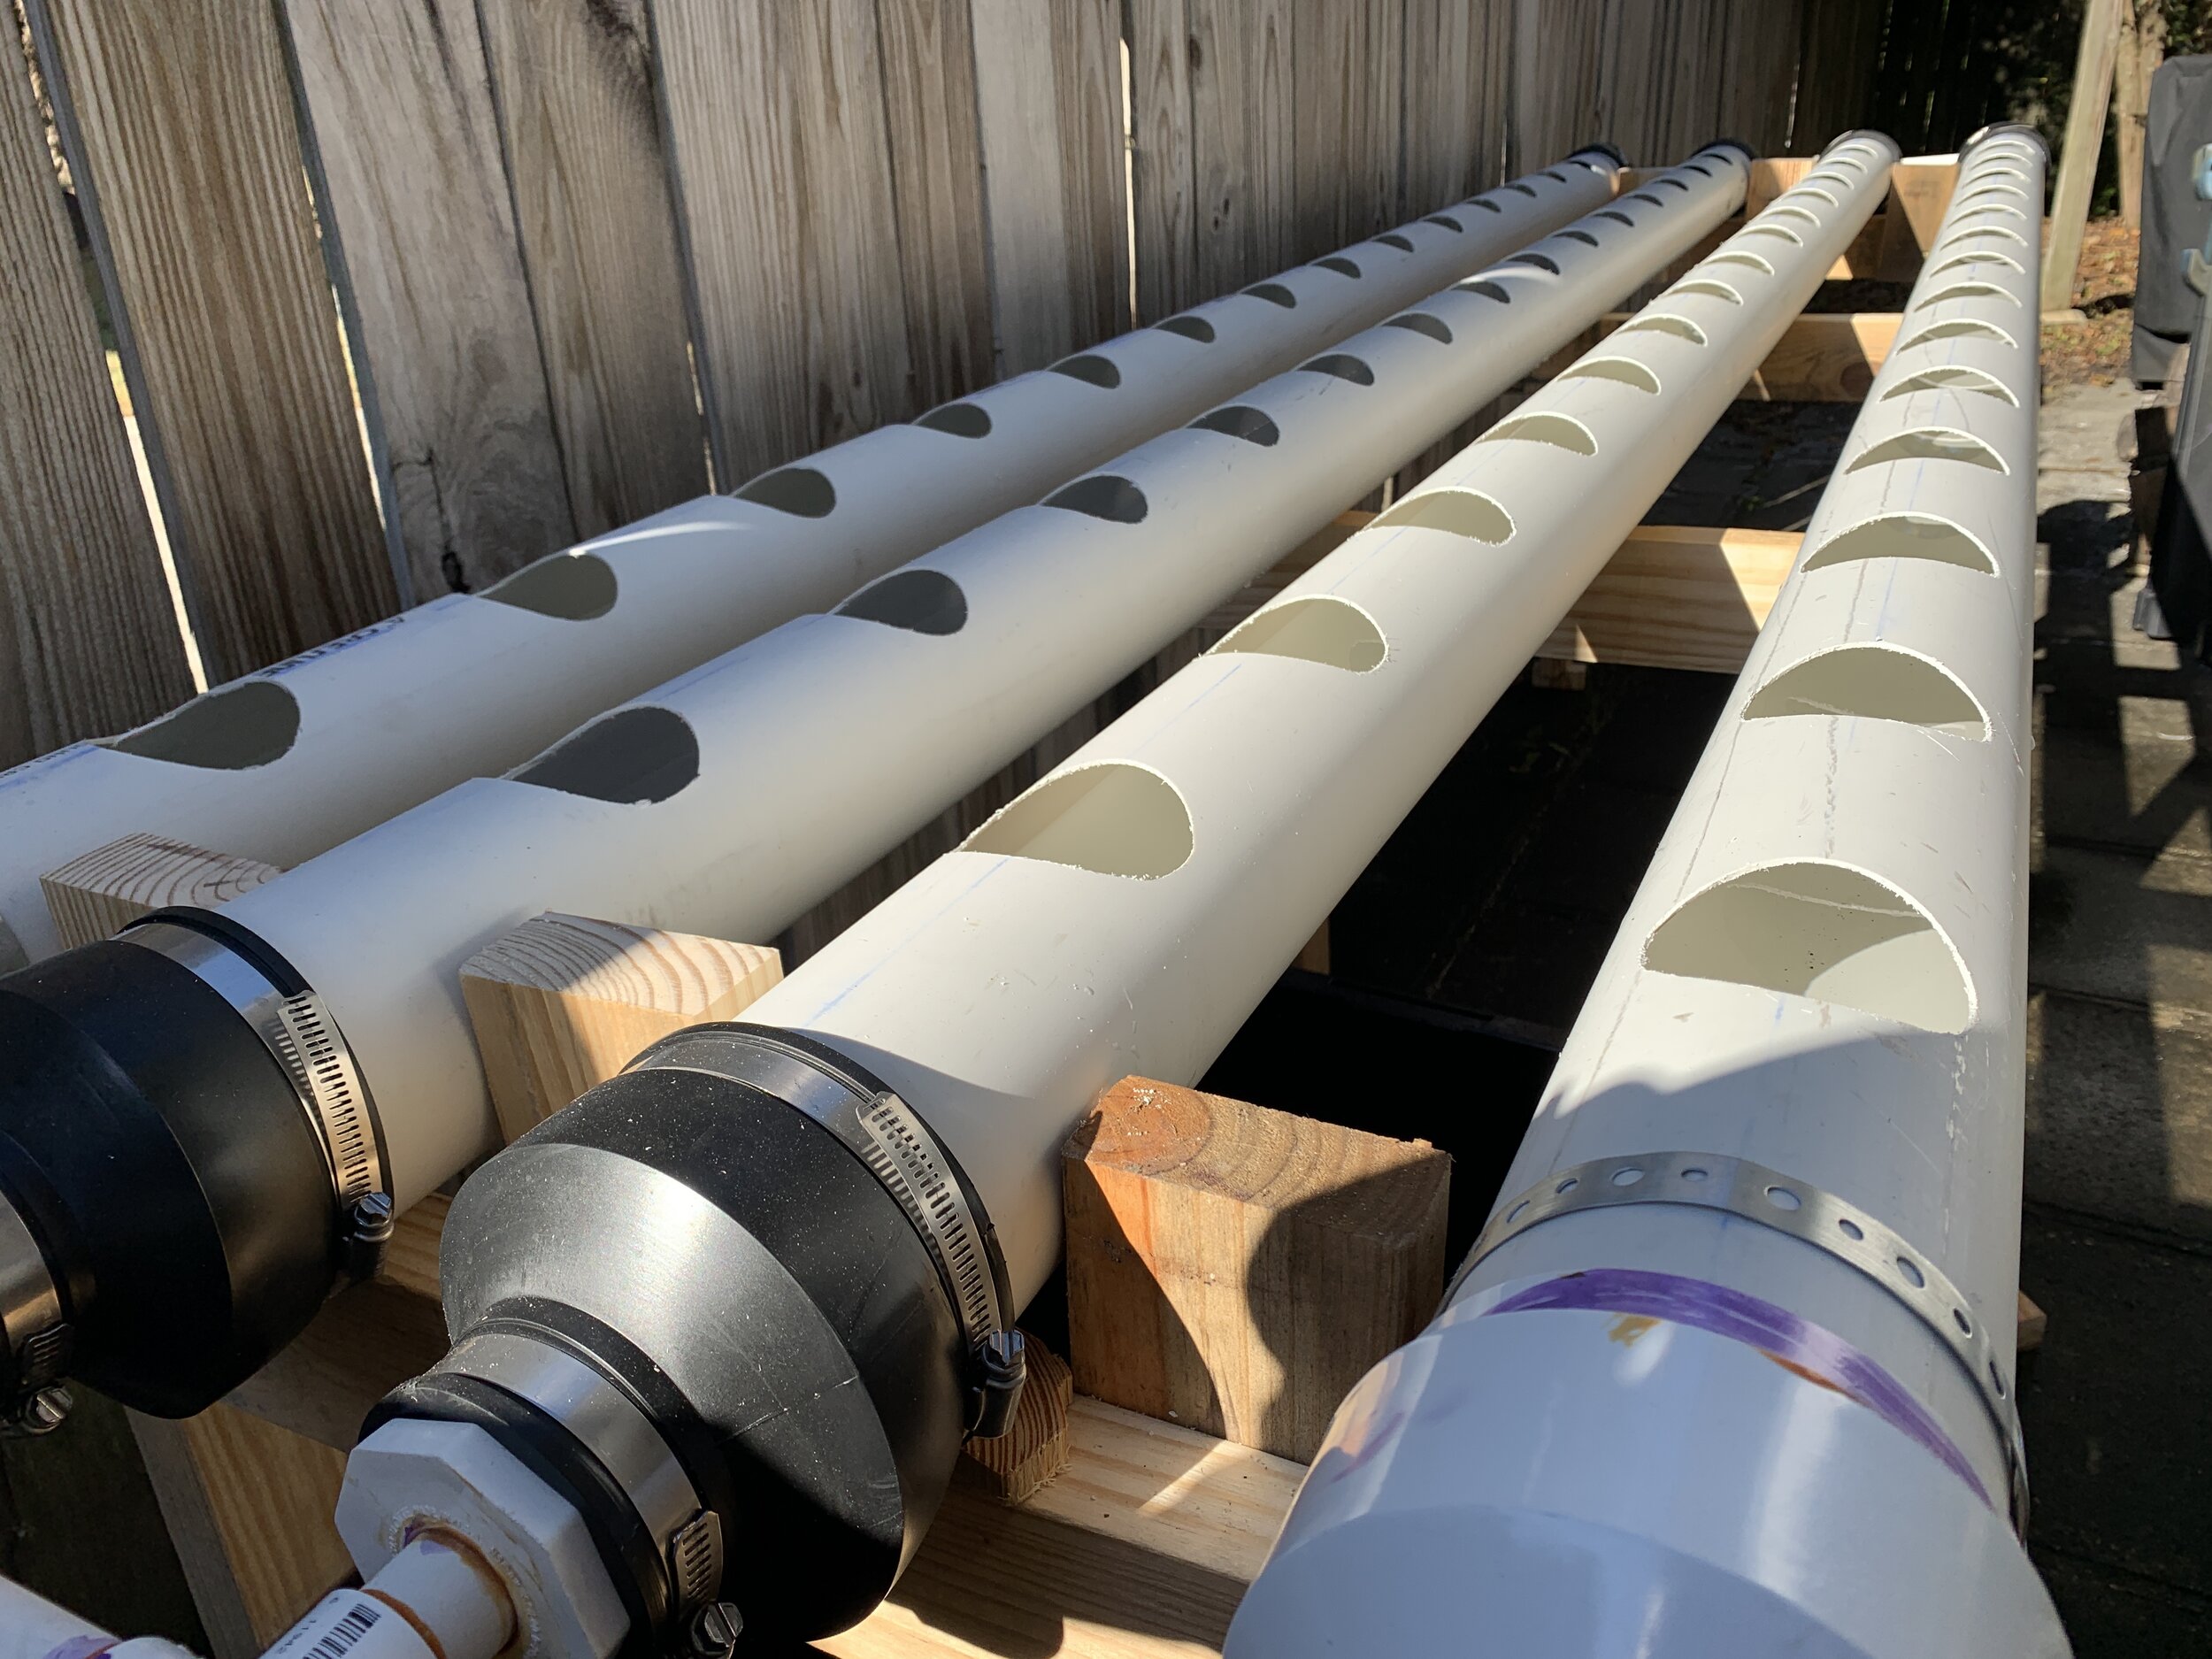
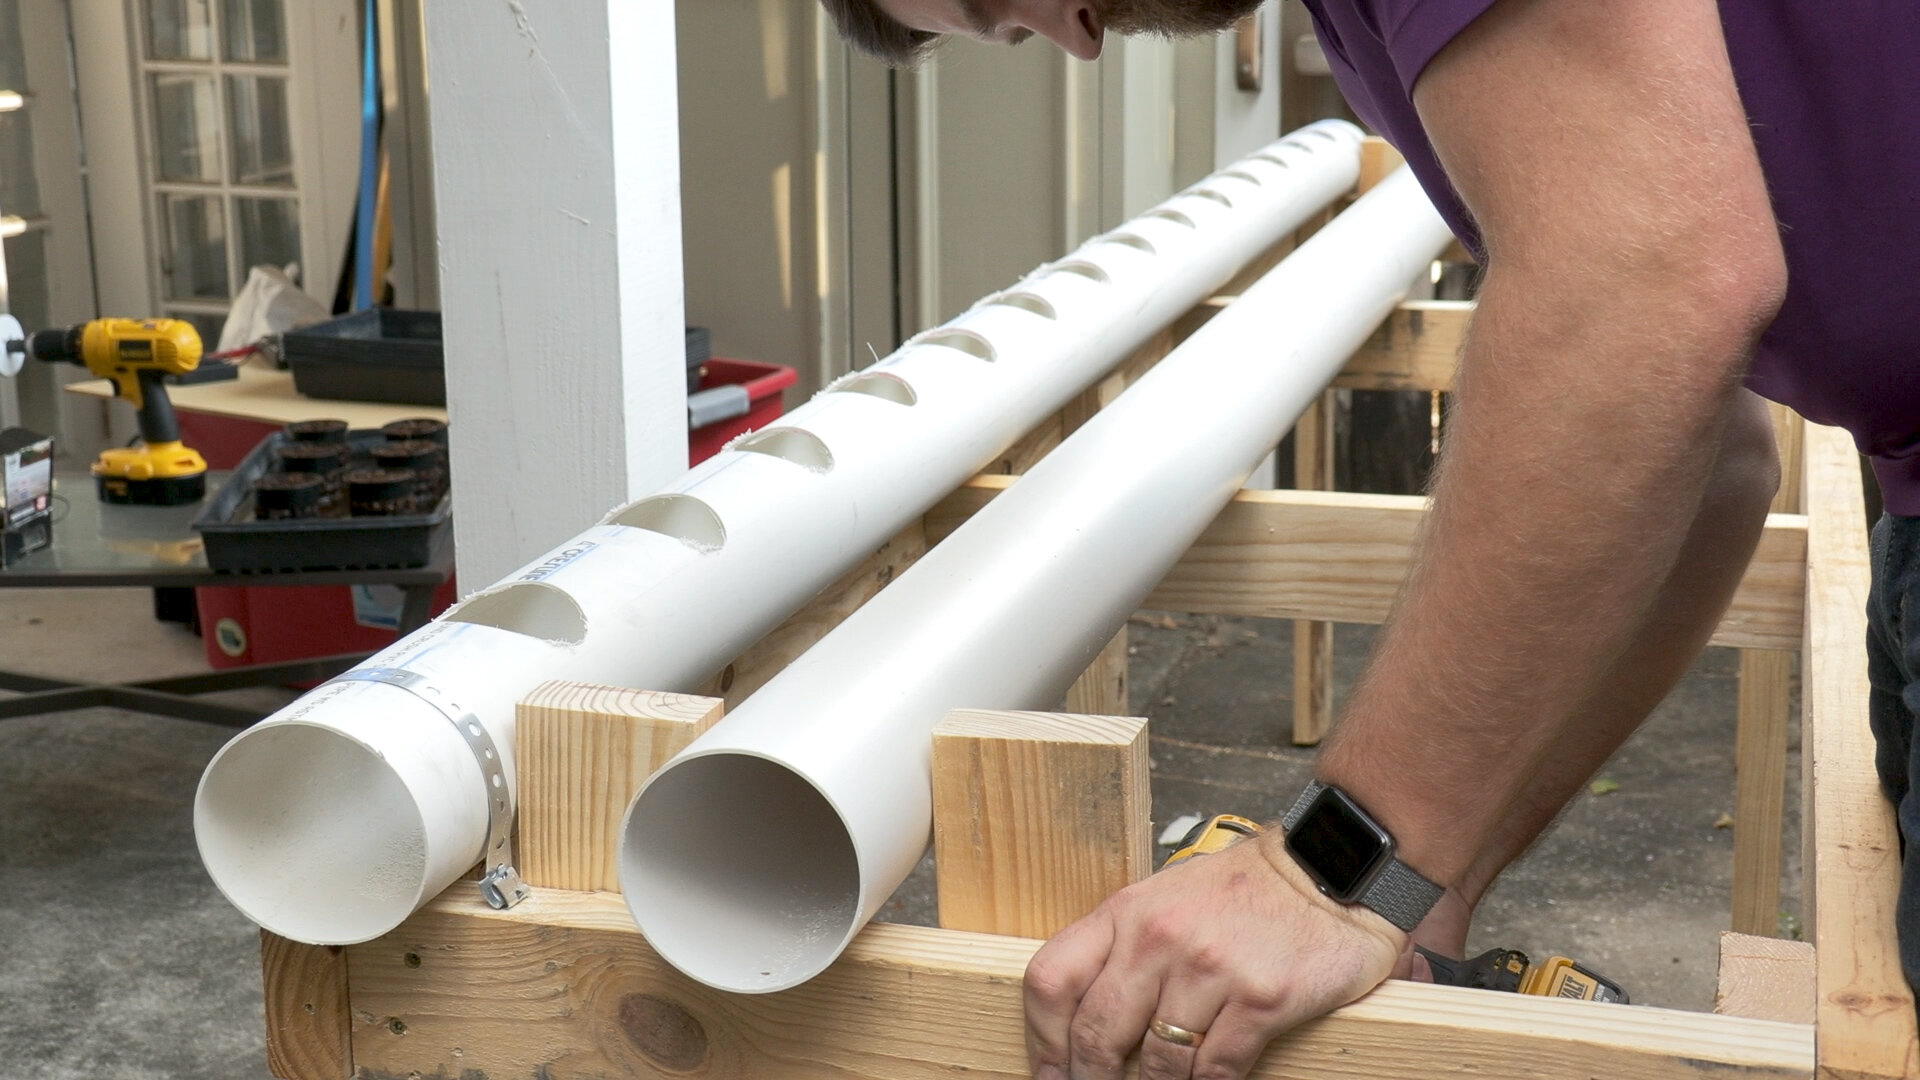
The 4 inch waste pipes are where your plants will live. You’ll first need to cut the “bell” off of the end of the pipe. That’s for connecting multiple pipes together. That will give you an even 4” end for fittings later on. You’ll then cut your pipes down to the length you want it to be. Now its time to cut holes for your cups.
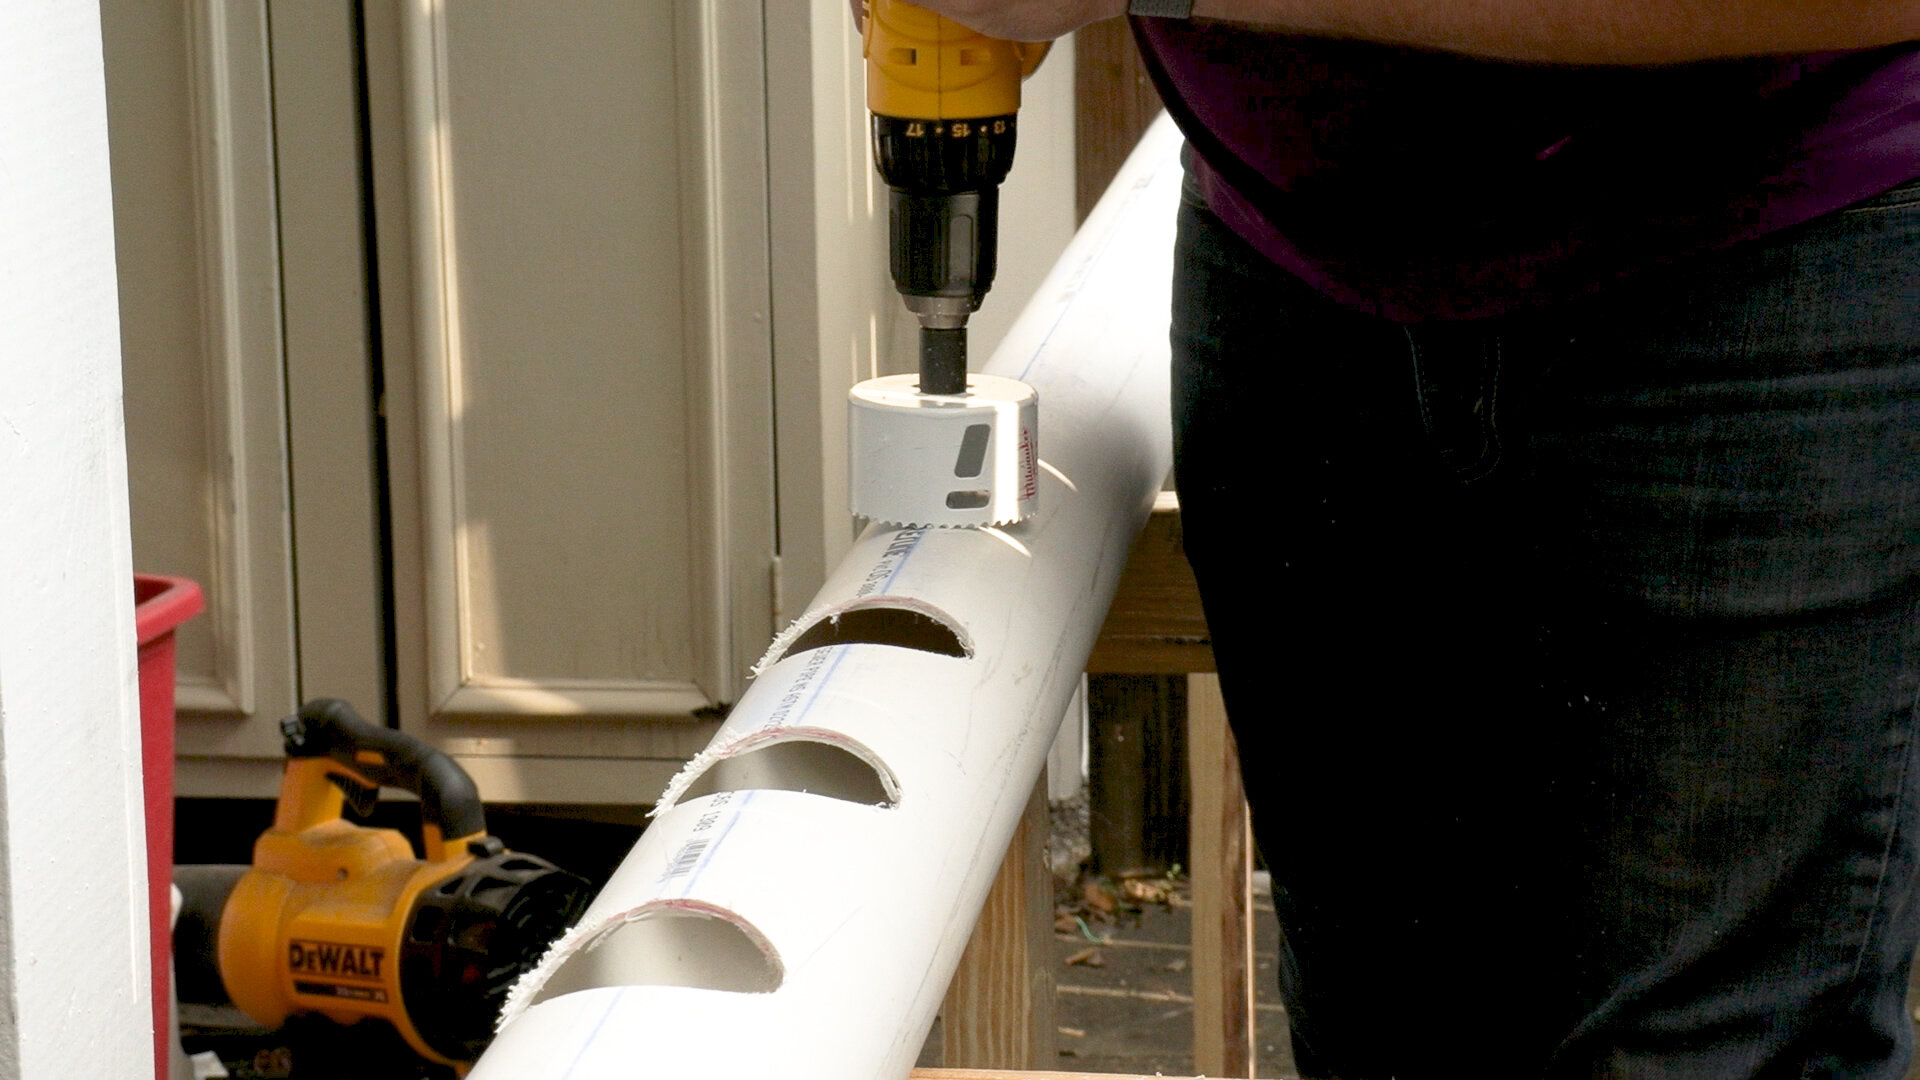
I cut these using a 3” hole saw attached to my drill. I popped a chalk line down the top (center) of my pipe, then measured out points every 7.5” for my holes. Take your time learning how to cut those holes with that hole saw. When it bites on the pipe, it’s easier to put the drill in reverse to cut the hole.
After I cut all of my holes, I took a hand file and cleaned up the shavings that are all over the holes. Then I blew out all of the shavings to keep it from getting into my water system.
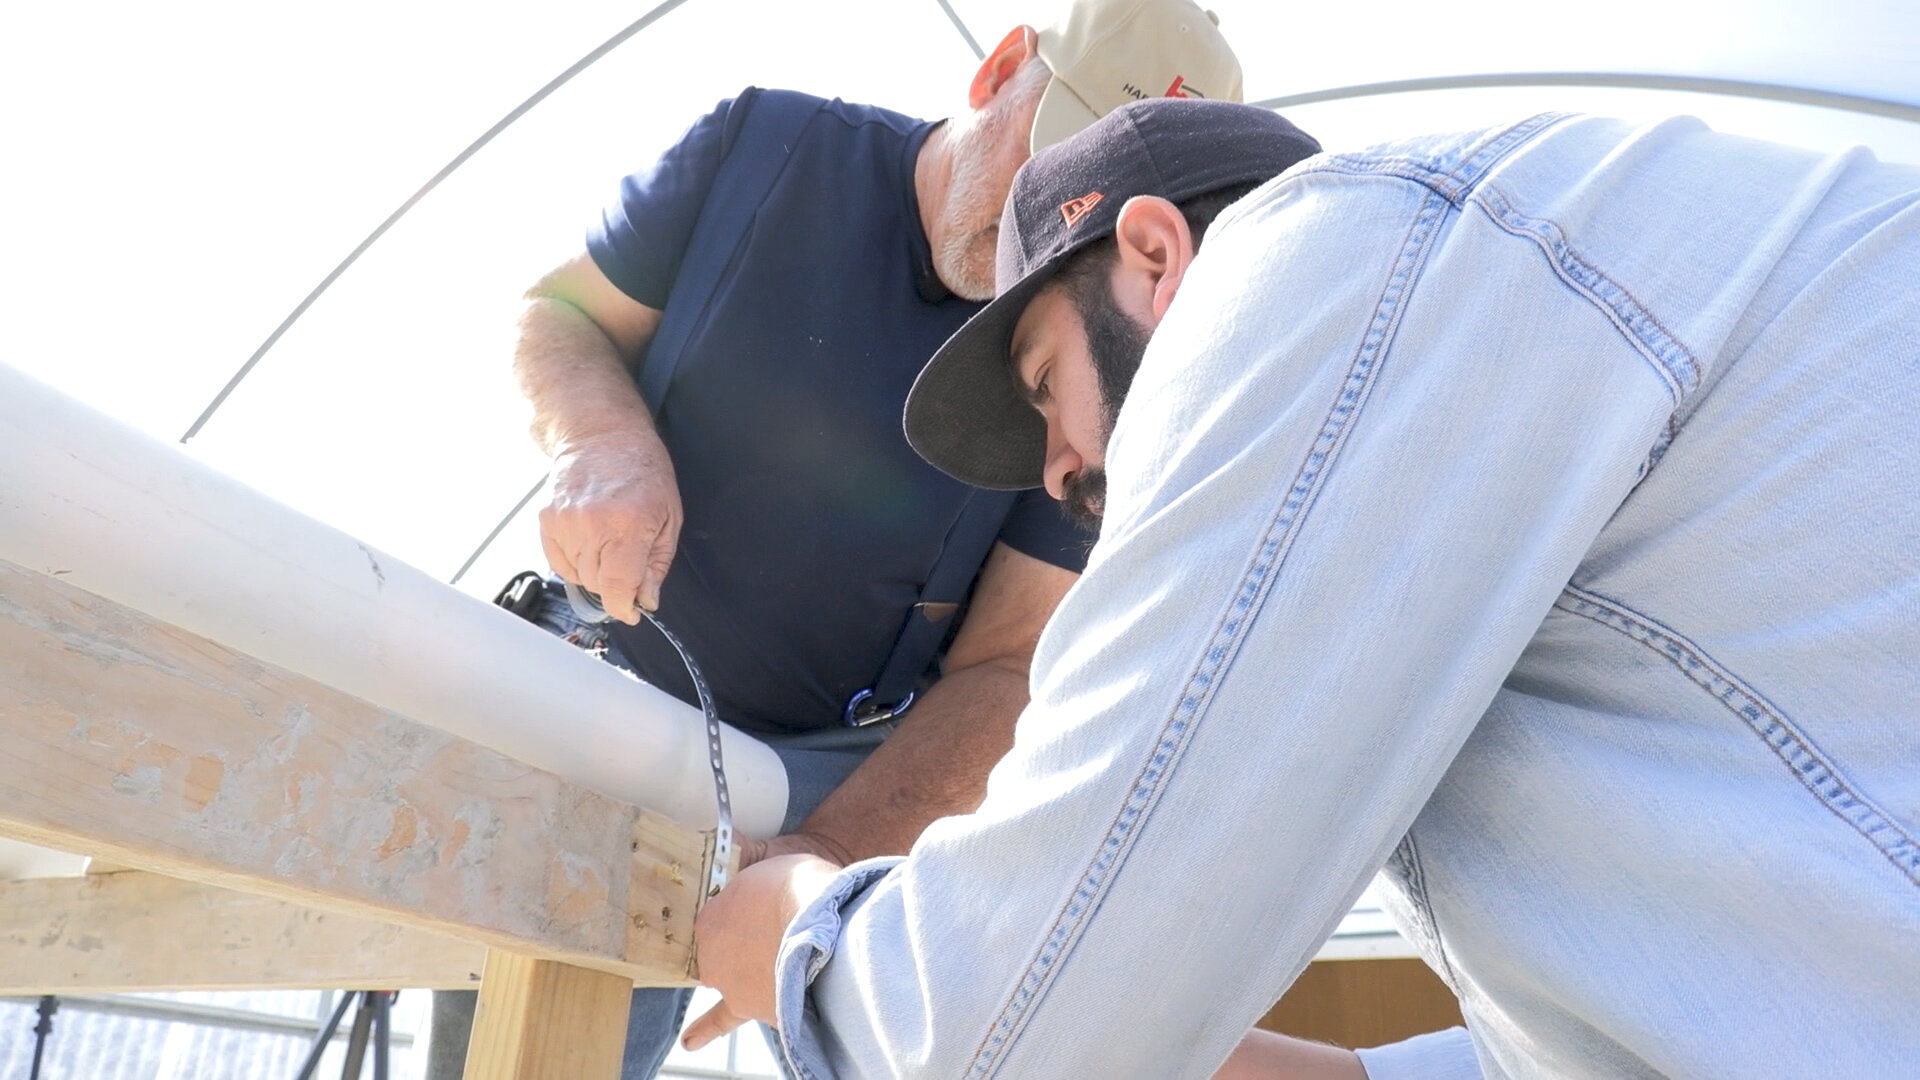
Next, we’re ready to attach the pipes to the frame. For the outside two pipes, you’ll use hanger strap on each end to fasten the pipe to the frame. Be sure not to tighten this too much because you can warp the pipes.
For the remaining pipes, I put short pieces of 2x4 as a spacer on each end.
Now that all of your pipes are on the frame, you’re ready to start plumbing the ends of each pipe. The main idea here is bringing the 4” opening at the end of the pipe down to 3/4”. That will make sure around an inch of water will remain at the bottom of the pipe for your roots to access.


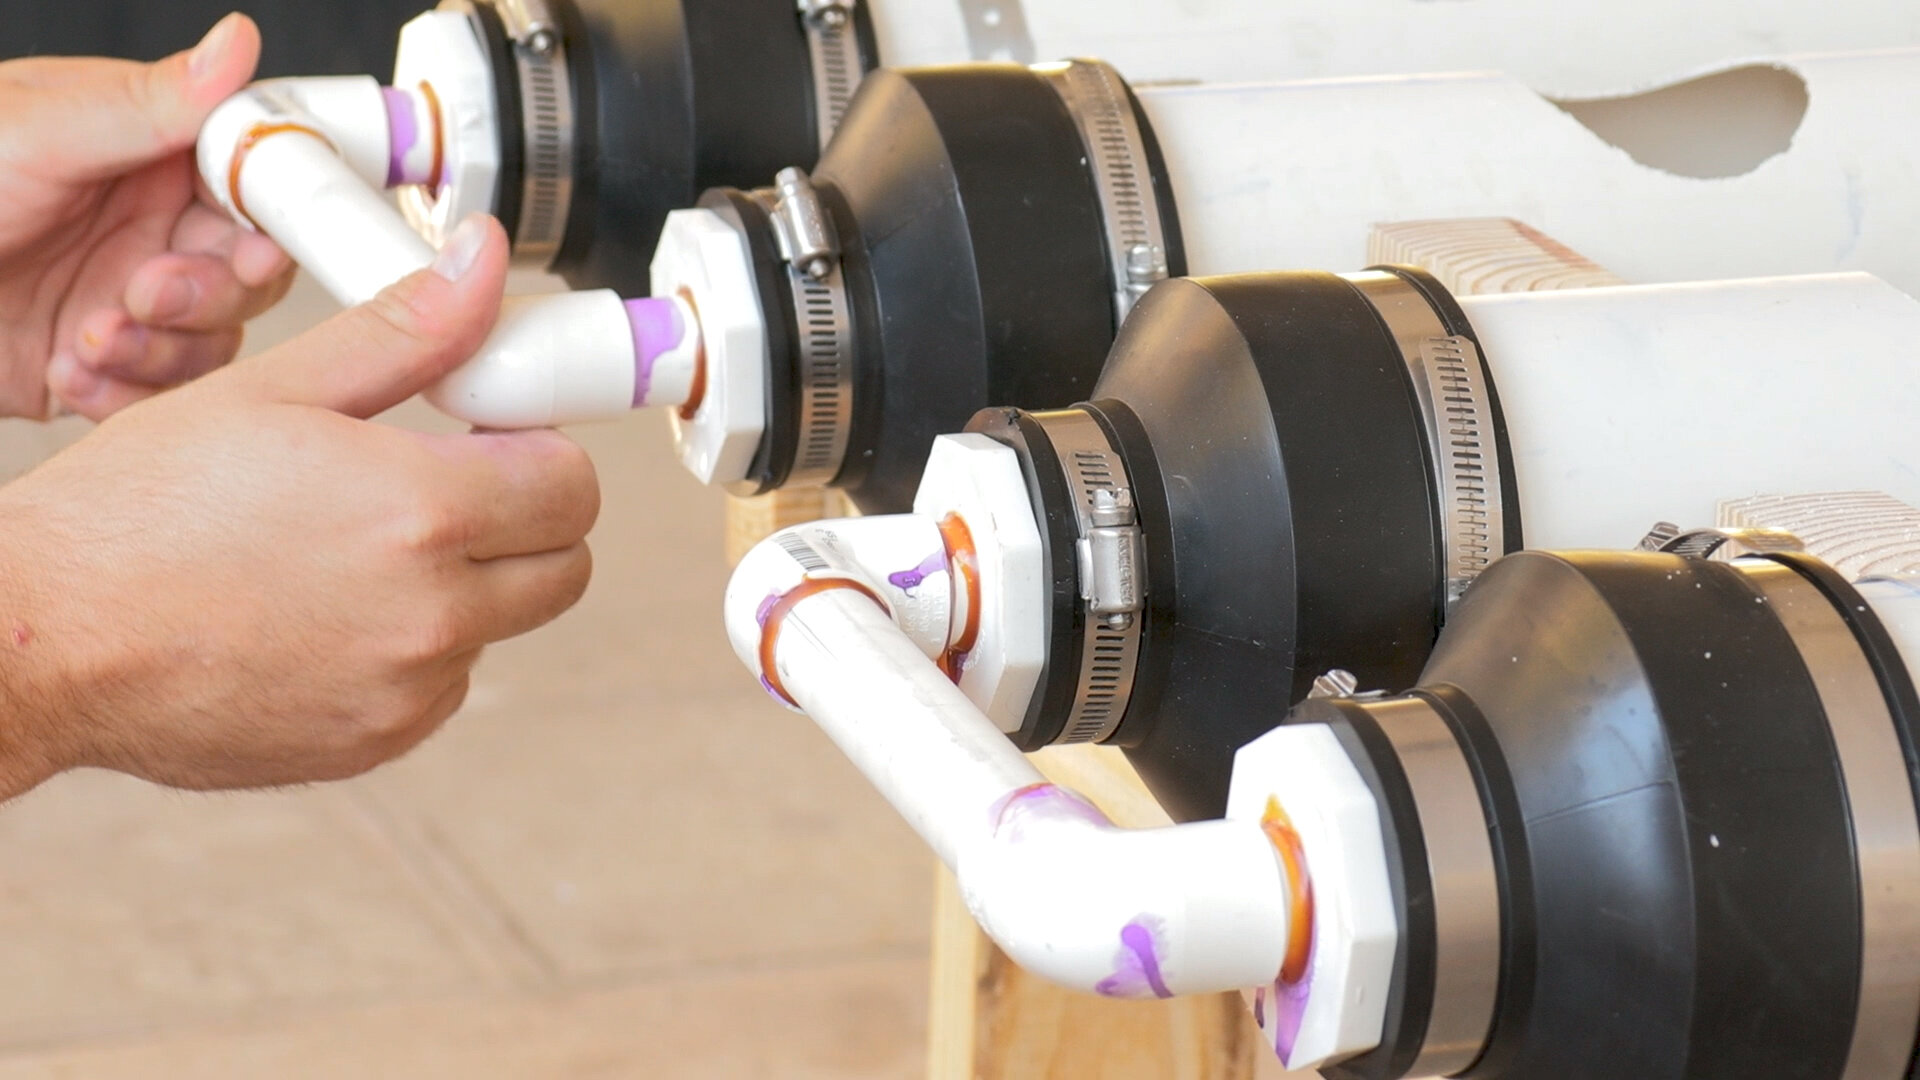
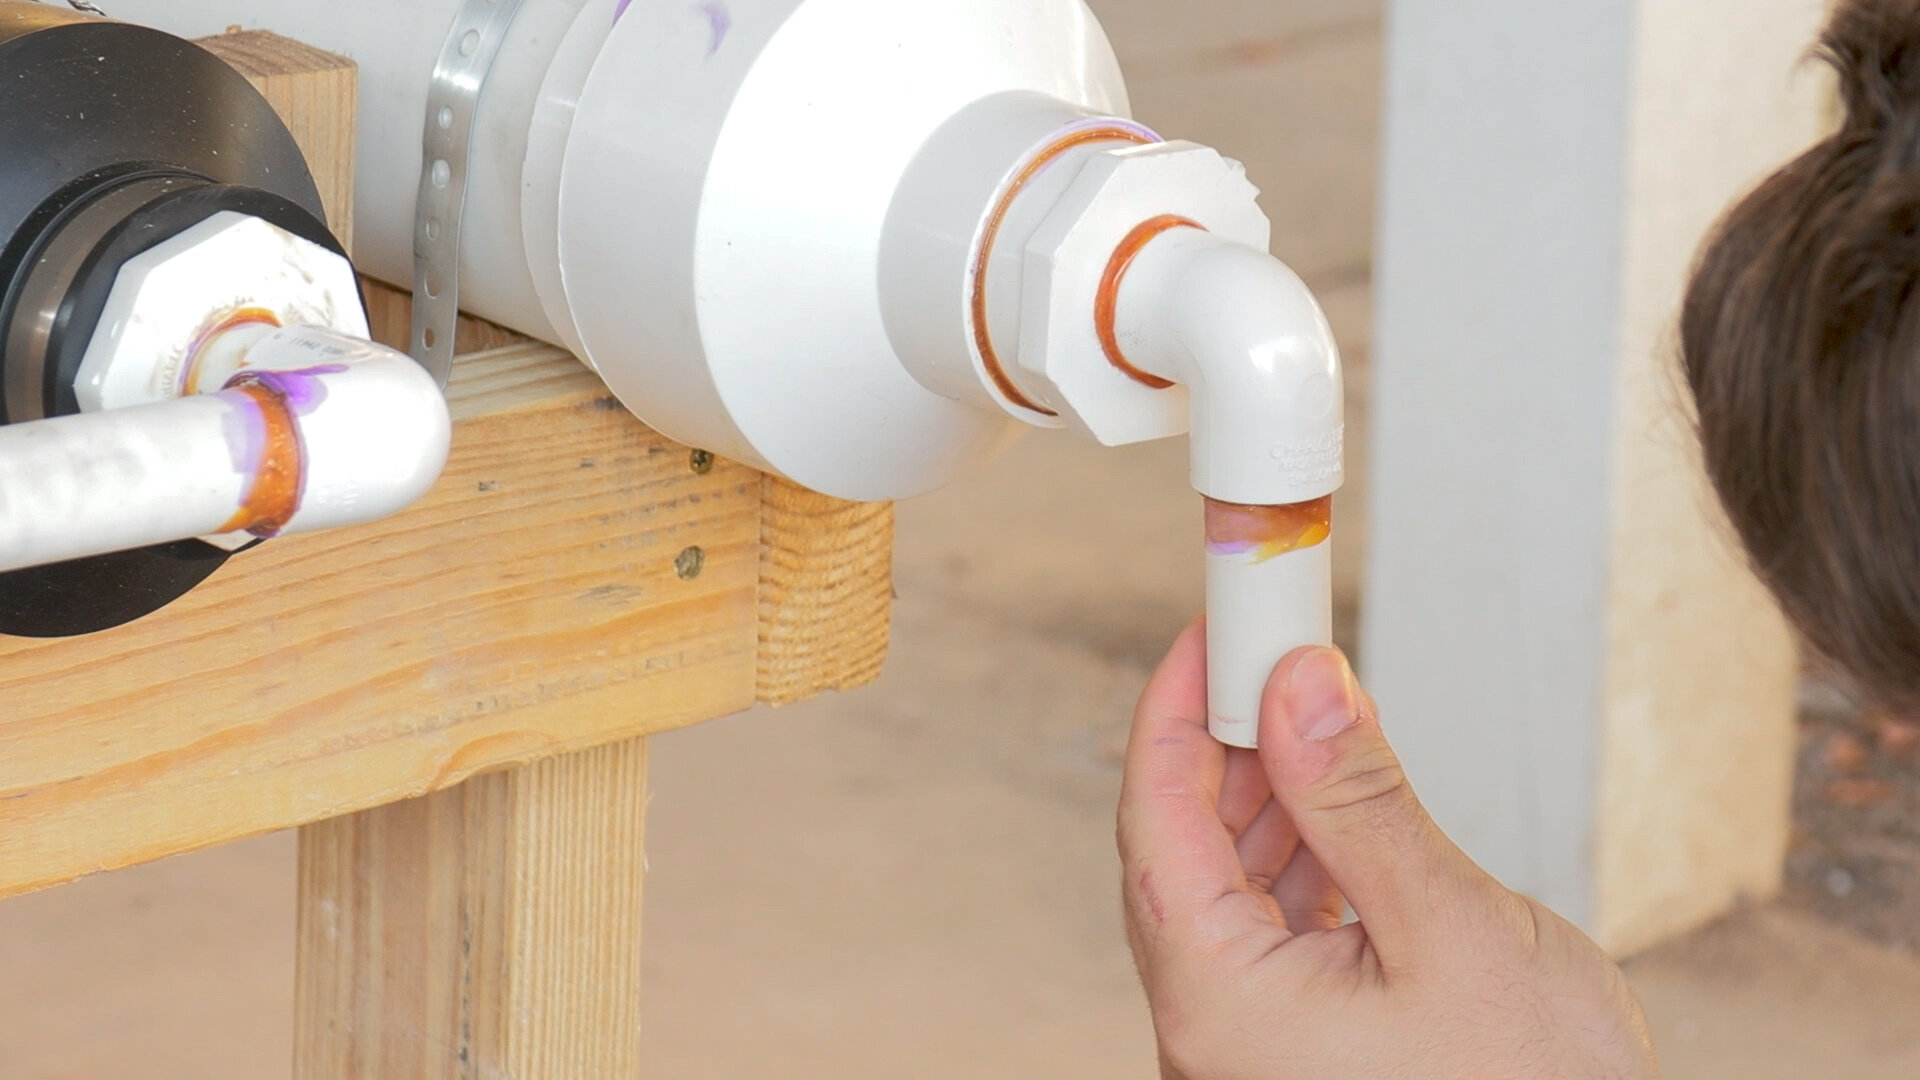
The way I did this was by using a 4” to 2” flexible fitting, then I took a 2” to 3/4” PVC bushing to get the rest of the way down. With these flexible fittings, the clamp keeps me from having to glue this all together, so that I can modify my system down the road if necessary.
Next we connect the four pipes with 3/4” PVC and 3/4” right angle elbows. For this, you’ll need to cut a short piece of PVC to come out of the pipe, then you’ll attach an elbow. Do this for the two pipes you want to connect, then cut a piece of PVC to connect the two elbows and you’re done.
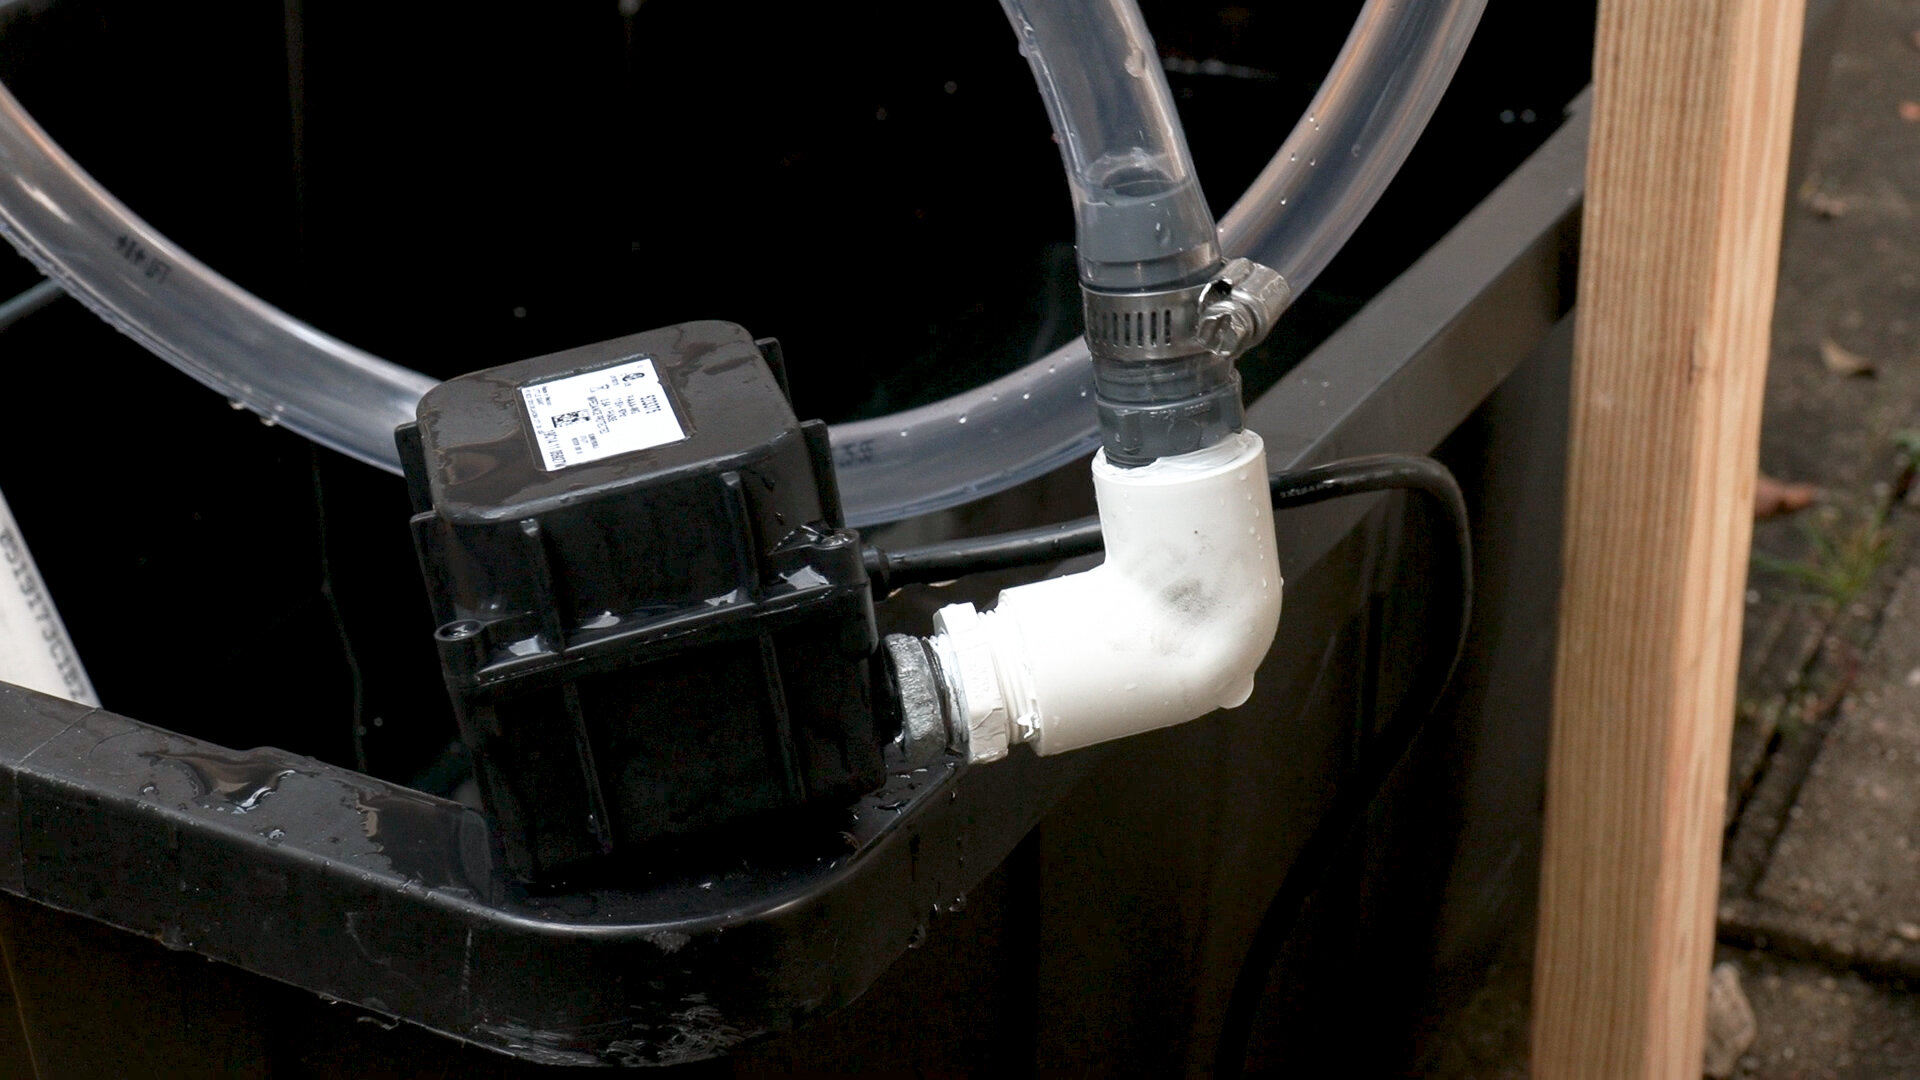
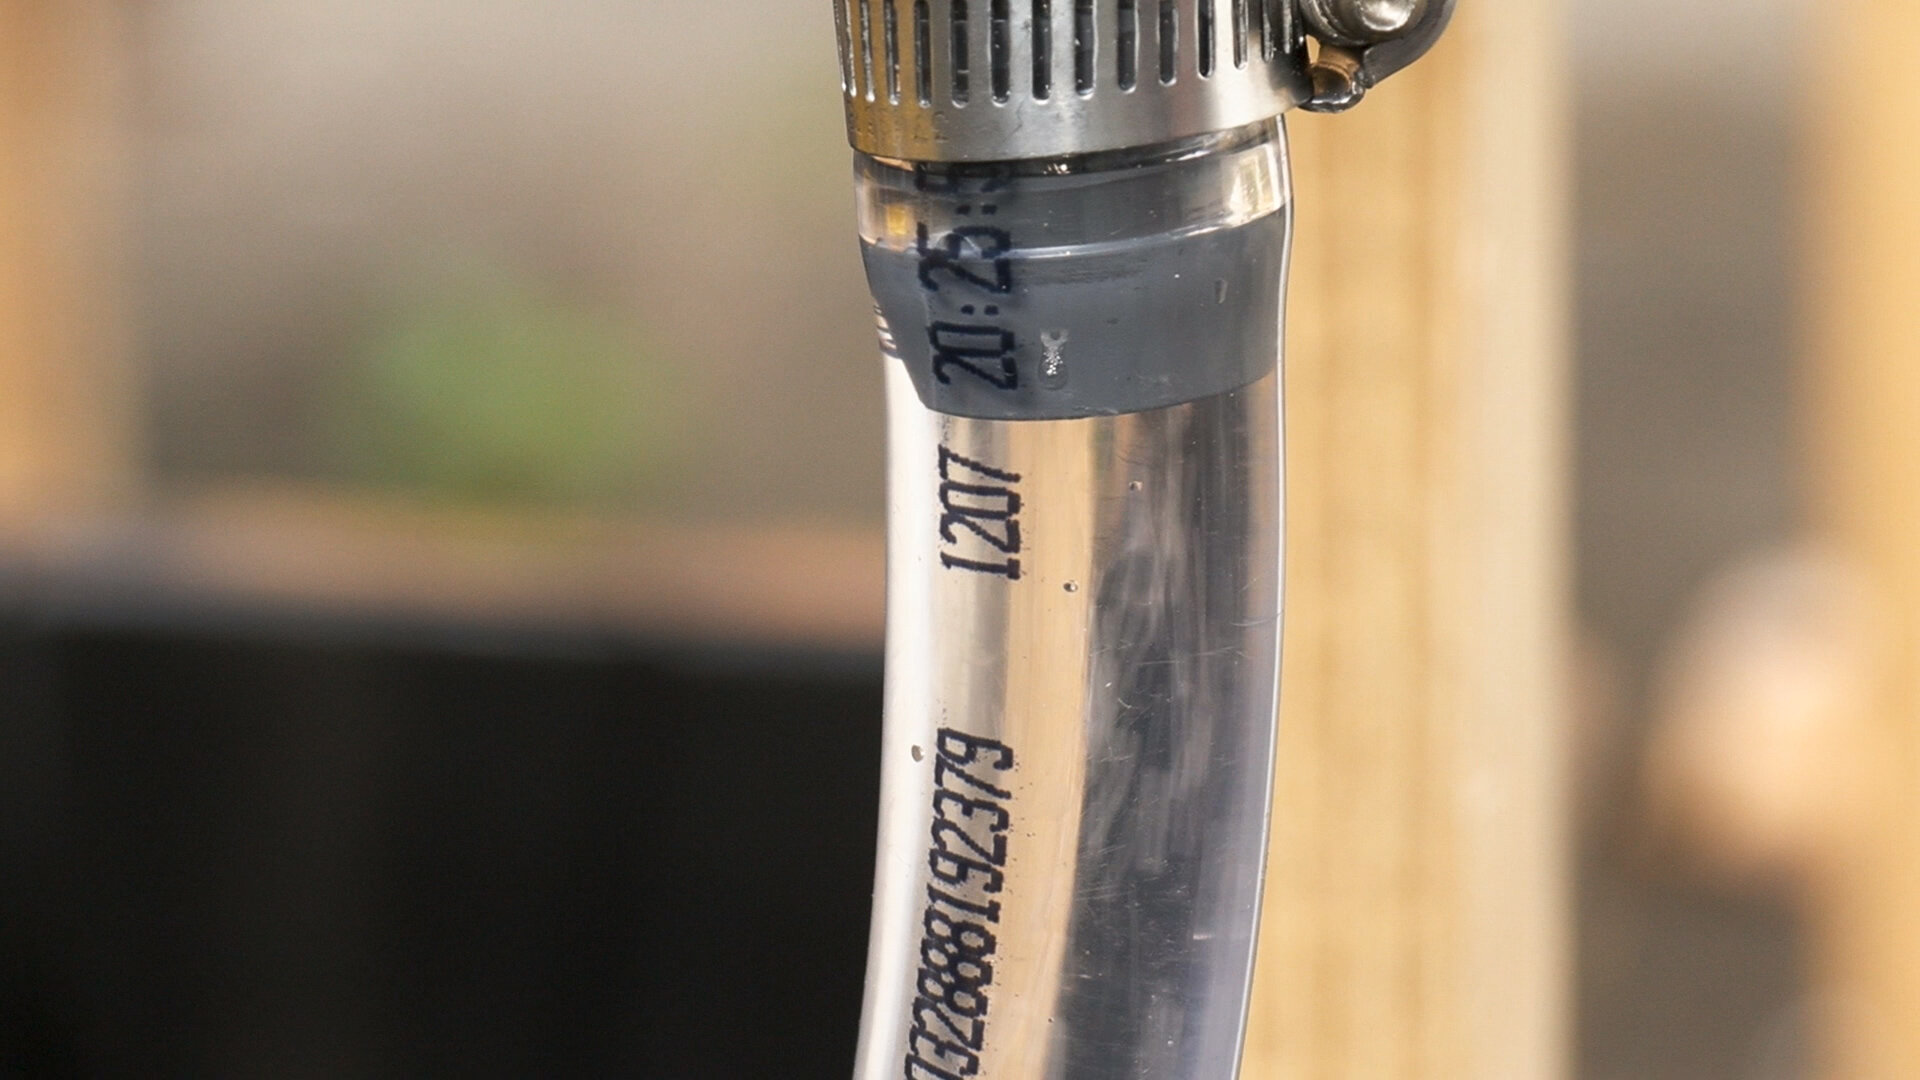
To get the water into the pipe from the pump, you’ll need to use different fittings. The best bet is to get some help from your hardware store attendant to get all the pieces necessary to get water from your pump. There’s no standard outlet size for fountain pumps — some are 1/4” and some are 3/8” and it may be 1/2” — that’s why I can’t say exactly what you may need.
Generally, you’ll need a hose to connect the pump to the pipe. From there, you can figure out what kind of fittings you’ll need to connect the hose at both ends. With mine, I used 1” tubing and I have an attachment at both ends that is threaded so I can remove the hose if I need to. Click through the pictures to see what kind of pieces I used.

For the end of the system, your water needs to drain back into your reservoir. I simply put an elbow with a piece of 3/4” PVC to return to the tank. For my water reservoir, I’m using a 55 gallon storage tote from Home Depot. This box needs to be a dark color to keep from algae buildup and must have a lid. I probably don’t need but about a 40 gallon box for my system, but this is what I already had around the house to use. The lid will need a couple of holes to allow the the pipes to go in and out that I’m going to add soon.
The final step is to balance your system and test it. You want water to flow through the system without backing up and overflowing through the holes that your plants will sit in.
The water is my next step to learn. I’ll need to manage the PH and the nutrients that my plants will need to grow and thrive. You can find basic PH management kits with “PH up” and “PH down” solutions as well as testing kits on Amazon for around $20.

The nutrients I’m going to use are MasterBlend 4-18-38 Fertilizer (1 part), Calcium Nitrate 15.5-0-0 (1 part), and Magnesium Sulfate (.5 part). You can buy these at any gardening store. On Amazon, you can get all 3 of these in a bundle for around $23. You’ll add these to your water every week or two, depending on how quickly you want your plants to grow.
Next, you’ll need the cups that you’ll plant your lettuce in. I’m going to use 3” mesh cups like this picture here. For the dirt, I’m using a 50/50 mixture of potting soil and peat moss. To keep it from washing away in your cup, you need to pack the bottom half of it pretty tightly. You’ll plant your seed on the top part of the soil, just under the surface. When you have a few leafs out of the top of your soil, it’s ready to place into your pipes.
I’ll be posting again in the next week or two to update as I get some plants into my system and begin growing my own lettuce. If you have any questions, find me on Instagram or email me and I’d love to help you any way I can. I’d also like to thank Rory Gresham at Richland Parish Produce for his help in building my system. I could not have done this without him.